2025-03-08
To check out next:
- Volumio vs. MoOde vs. piCore Player - http://techroadtrip.com/audio-software/volumio-vs-moode-vs-picoreplayer/ and https://www.youtube.com/watch?v=8rhNXsphd6g
Playing music on the RPi
- Use Volumio for software
- Needs external USB DAC: Digital to analog converter
What are DACs? (and some things about audio compression)
https://www.headphonesty.com/2019/12/dacs-guide-part-1/
- Converts digital signals (1s and 0s) to analog signals (music).
- Needed if digital audio files (streaming, mp3, CD, FLAC, etc.) into an analog signal that is fed into an amplifier for playback.
- How is an analog signal converted to digital? The analog wave is sampled at specific intervals of time (= sample rate) at a certain bit depth, e.g. for CDs: 44 100 samples per second, stored as 16 bit ⇒ 16-bit/44.1kHz. Bit depth indicates how much data is recorded per sample and is a measure of how precisely the sound is represented in digital audio. Bit rate is a bandwidth measurement (in kbps) and impacts the size and overall quality of the audio file.
- Audio compression: requires a computer program called codec (coder-decoder).
- Digital audio files created using lower bit rates will be smaller but sound worse. General consensus: bit rate over 320 kbps will result in digital audio file that is generally indistinguishable from the original lossless source.
- Every time a signal gets converted from analog to digital (A-D) or vice versa (D-A) there is deterioration and loss, e.g. jitter, glitches.
- An internal DAC is part of every device that plays a digital file and that has speaker or headphone outputs.
Audio streaming on RPi
- Example of a build: Pi 4B, official 3A USB-C power supply, 16 GB memory card, official 7” touch screen, external USB DAC (e.g. Topping D10s), Volumio for software
- Alternative with an older Pi (that would have USB/network bandwidth limitations that impact external USB DACs): Use DAC HAT that bypasses the USB connection and connects via the 40-pin GPIO header on the Pi board.
- Two main ways to connect a RPi to a screen: HDMI and S2 connector. HDMI is not supported by all network streaming options. The S2 port is a display serial interface (DSI) for connecting to an LCD screen with a 15-pin ribbon cable.
- External USB DAC vs. HAT DAC:
- Pi 4 (and higher): Just use an external USB DAC. Connect via USB port, done.
- Pi 3 and down: Could work fine with USB DAC, but you might run into bandwidth issues. For maximum stability, use a HAT DAC to circumvent any bandwidth limitations and get maximum audio quality. E.g. HiFiBerry DAC2 Pro.
- HAT: Hardware on top. The RPi connects to add-on extension boards via its 40-pin GPIO header interface. These add-on boards are called HATs.
- Software for streaming: Volumio, Moode
Moode software for RPi music streaming
https://www.headphonesty.com/2021/09/introduction-to-moode-audio/ Transform a Raspberry Pi into a high-end music streamer/player with the comprehensive moOde Audio software package.
https://github.com/moode-player/docs/blob/main/setup_guide.md#1-introduction Moode audio player is a Free Open Source Software (FOSS) music streamer for RPi (and other single board computers). It has online radio station support with sort/group and metadata, as well as touchscreen and HDMI display support.
- Create a boot SD card:
- Insert SD card into your computer. On your computer open the Raspberry Pi Imager. Click CHOOSE OS and scroll down to
Media Player OSand then tomoOde audio playerand then click the version of moOde you would like to install. - Or if you have downloaded moOde directly from the Download page at moodeaudio.org, then scroll down to
Use customand select the downloaded zip file from the file chooser. - After the OS is selected click
CHOOSE STORAGEthen click the SD card drive where the OS image will be written. - Click
NEXTto display theOS customizationscreen - Click
EDIT SETTINGSto display theOS customizationscreen. On theGENERALtab enter your desired hostname, userid and password, optional WiFi SSID and password and finally the Locale. - Click the
SERVICEStab and enable SSH with password authentication. - Click SAVE which will return you to the
OS Customizationscreen. - Click
YESto apply the customizations and display the confirmation screen. - Click
YESto proceed and write the OS image to the SD Card and automatically verify it after the write completes.
- Insert SD card into your computer. On your computer open the Raspberry Pi Imager. Click CHOOSE OS and scroll down to
- After verification is complete, remove the SD card from your computer and put it into the RPi for initial startup.
- First startup will take a while. The system automatically reboots 3 times.
- After Moode starts up and you access it in your web browser you can configure your audio device, add music files to create your library. Use a web browser on your computer to connect to the moOde interface at (http://moode.local or http://172.24.1.1).
- Once connected to the interface, click the small m icon in the top right corner to access the configuration settings.
- The Setup Guide walks you through setting up the audio device (USB or I2S DAC), Time Zone, Audio Source, and WIFI connection. I highly suggest leaving the Audio Source setup as the last thing you do, as depending on the size of your local collection, this can take hours to complete.
- To enable a USB DAC: m → Configure → Audio → MPD Options → MPD Settings → Edit → Audio Output → Output Device → Change from the Pi Headphone Jack to the USB DAC. (moOde default is to output via the headphone jack)
2025-03-03
To check out:
- https://www.brewblox.com/ - Build a RPi-controlled beer brewing system
- https://magazine.raspberrypi.com/articles/modern-jukebox - Jukebox revitalised with RPi
- https://www.youtube.com/user/estefanniegg - Feminist rage tech Youtube channel
- https://www.instructables.com/3D-Printed-Electromechanical-7-Segment-Display/ - Electromechanical segment display instructions
- https://magazine.raspberrypi.com/books/raspberry-pi-media-player - Free pdf that details how to build a RPi Media Player
- https://www.hackster.io/retrotech - A lot of techy projects with descriptions and instructions
Set up new Raspberry Pi
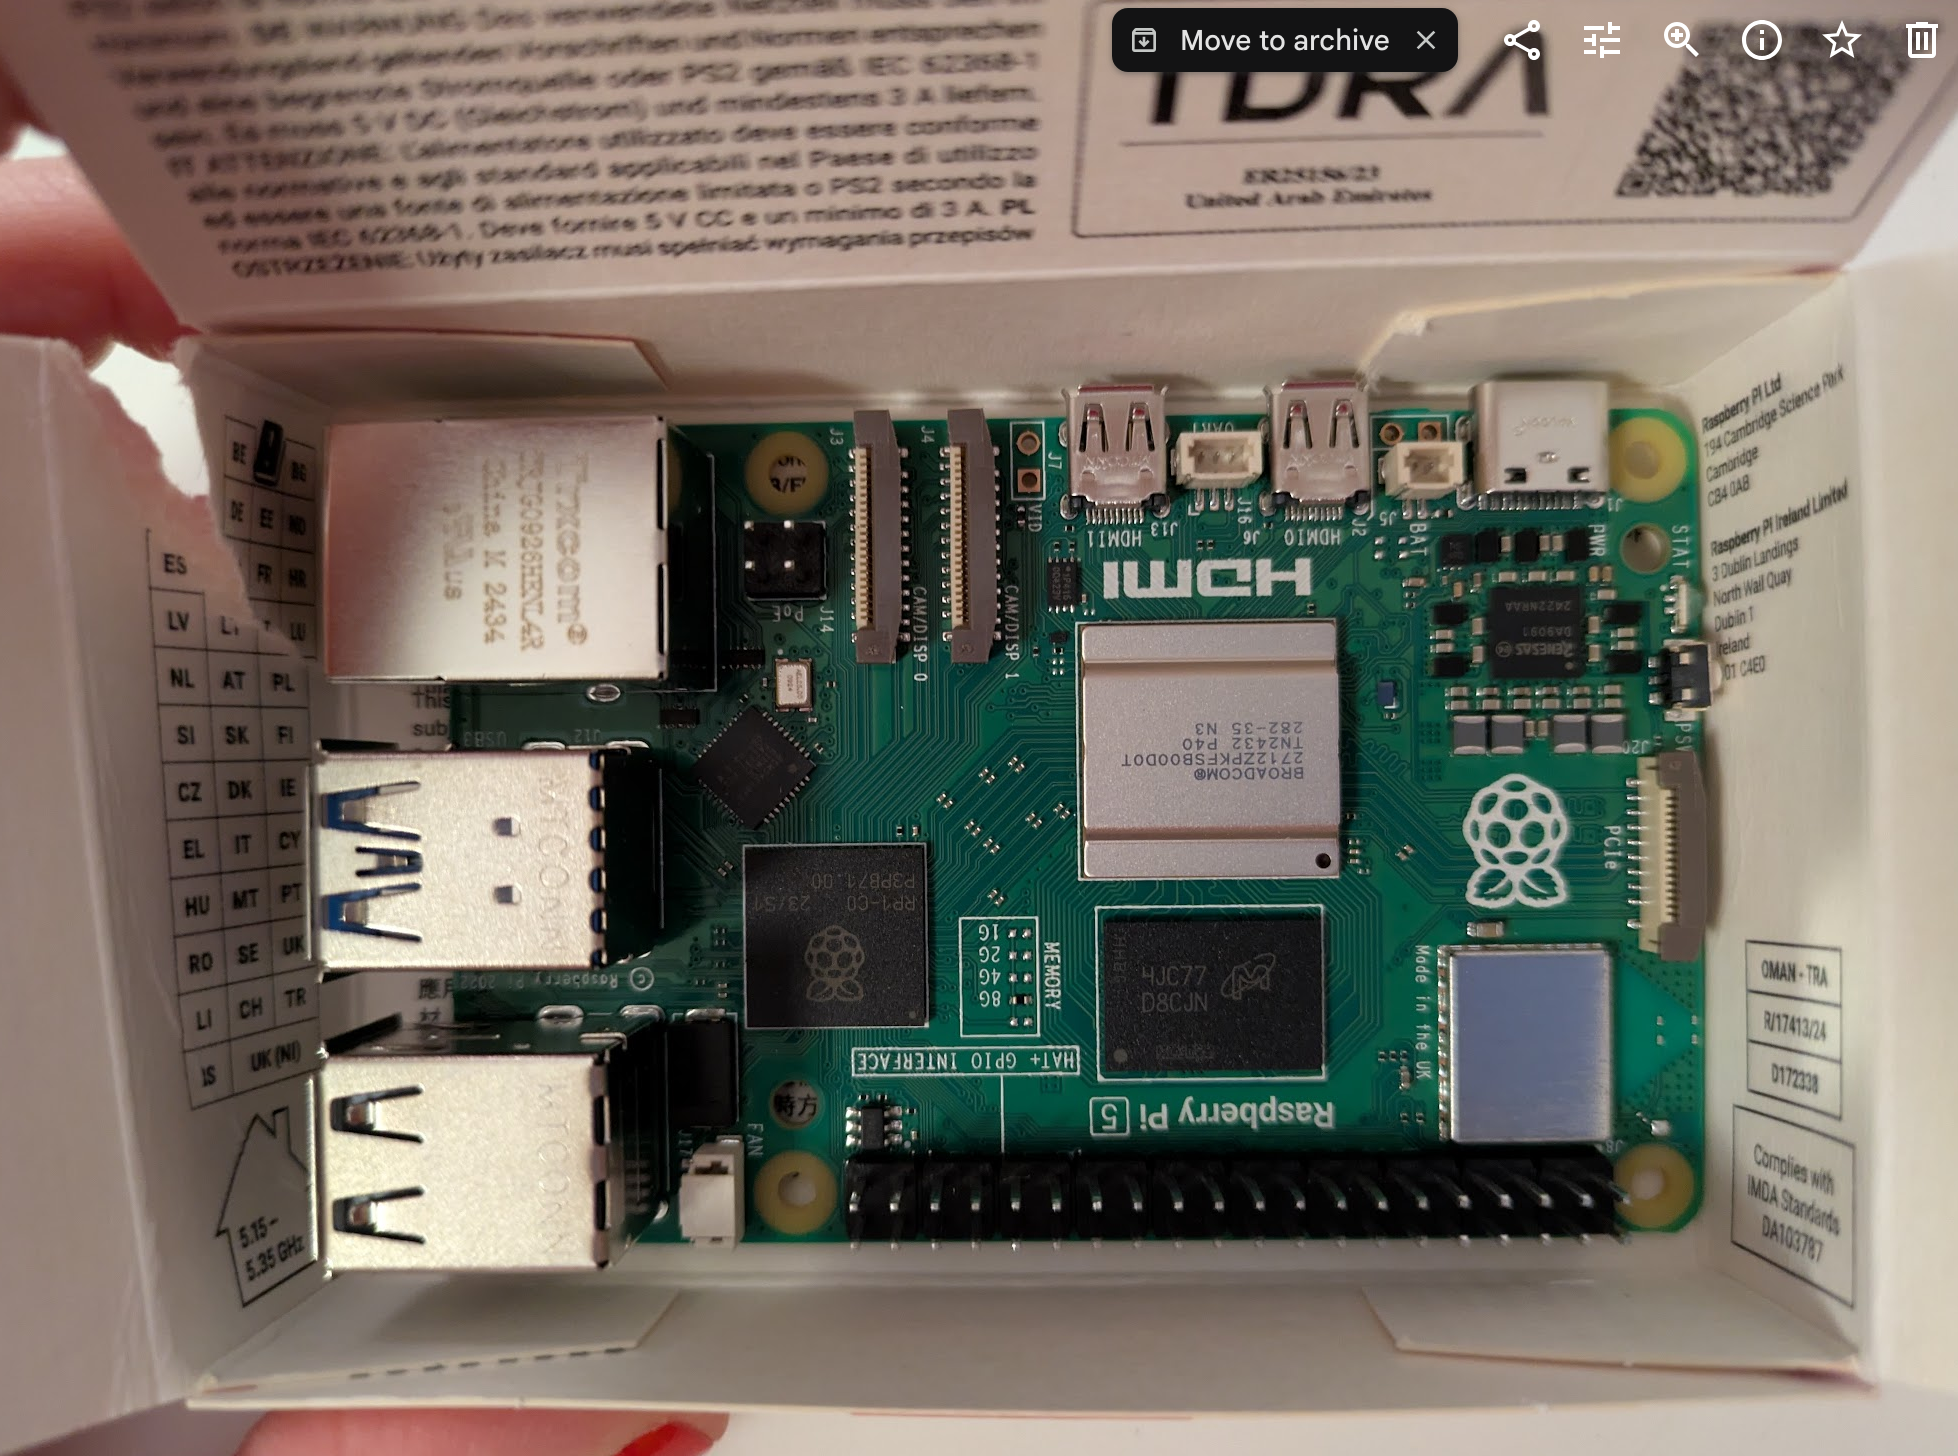
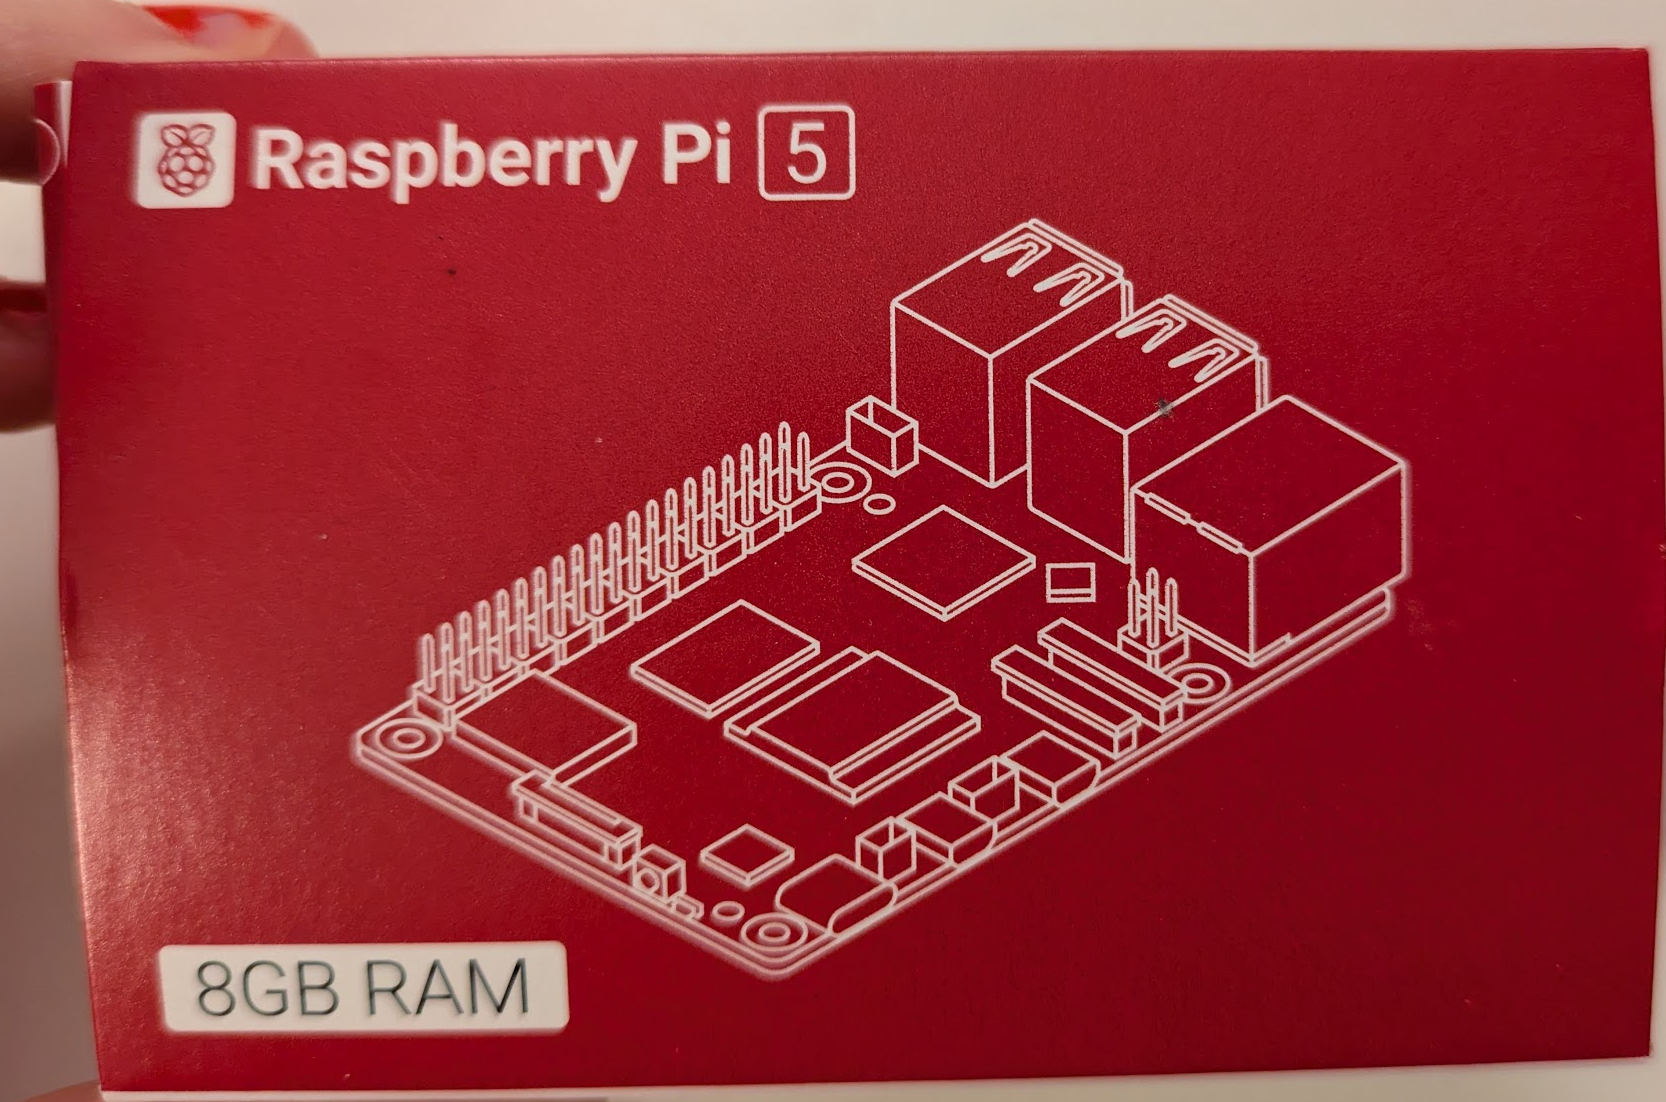
Bought a Raspberry Pi 5, 8 GB.
To install an operating system:
- On computer:
- Install and open Raspberry Pi Imager.
- Insert micro SD card into computer.
- Select right model of RPi, and OS (Debian 64bit) to install
- Host: pifive.local
- User: pi
- PW: five
Once the OS is written on the SD card, remove it and insert it into the RPi. Plug in the power supply ⇒ RPi will start. When green light is solid, it’s ready.
On Terminal on computer:
ssh pi@pifive.local
Asks if you are sure you want to connect: ⇒ “Y”, enter PW
Now install Pi Connect: https://connect.raspberrypi.com/devices
sudo apt update
sudo apt full-upgrade
sudo apt install rpi-connect
When it asks to install a new maintainer or keep the current version, select the default (N = keep the current version).
2025-03-02
To read:
- https://www.tomshardware.com/how-to/use-raspberry-pi-with-arduino
- https://sopi.aalto.fi/teaching/pid/arduino-pure-data/
To watch:
_2025-03-01
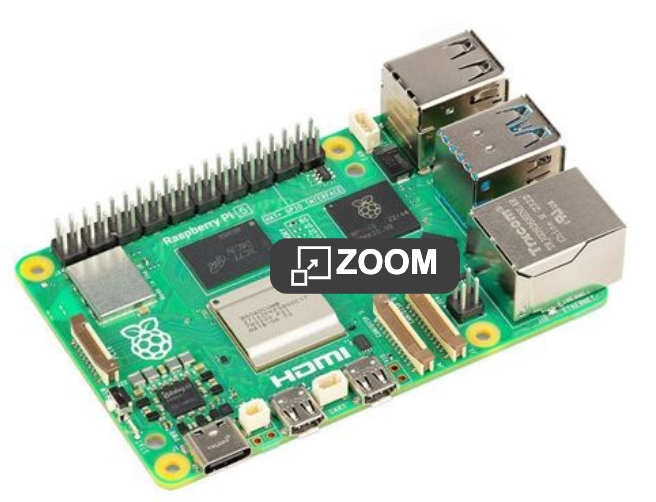
Video: Raspberry Pi 5: Getting started
RPi 5
ARM Cortex A76 Quad Core Processor, 4/8/16 GB LPDDR4X RAM, 2.4GHz, 2-3x increase in CPU performance relative to Raspberry Pi 4, dual 4Kp60 display output over HDMI. Ports and connectors: 2 x USB 2.0, 2 x HDMI, 1 x 10/100/1000 Ethernet, 2 x USB 3.2 Gen 1 (Type-A). Wifi, Blootooth.
Tips from users:
- Get an active cooler - it runs hot.
- Get a power device specifically for RPi 5.
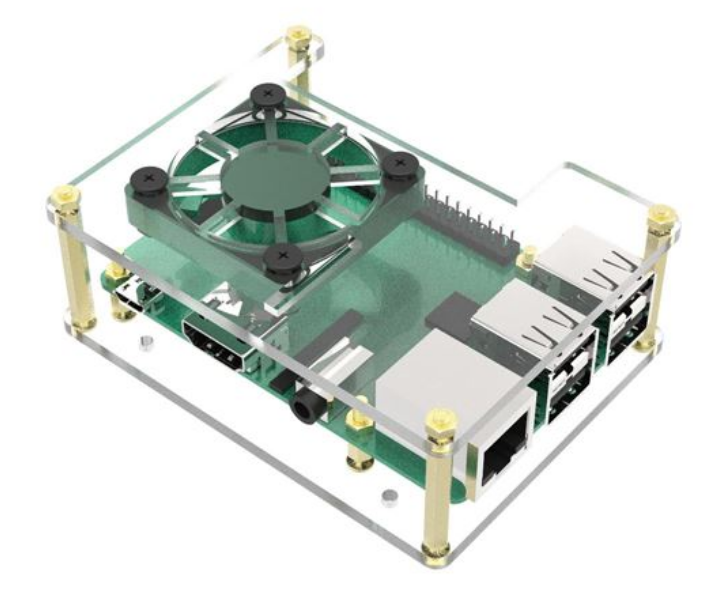
- Good to get a stackable acrylic case with fan, such as this one
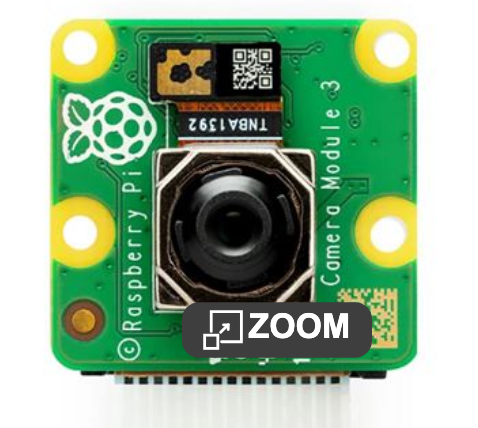
RPi camera 3
12MP IMX708 Quad Bayer sensor, ultra-fast auto focus, ultra-wide 120 degree angle of view