2025-09-05
The laser-cut pieces have arrived and look so-so. Bit rough, and some of the parts are a bit dirty. The top plate is unfortunately quite warped, and the corners of all plates are rounded, which I didn’t order. Sent a complaint email to scandcut.se, but they don’t reply…

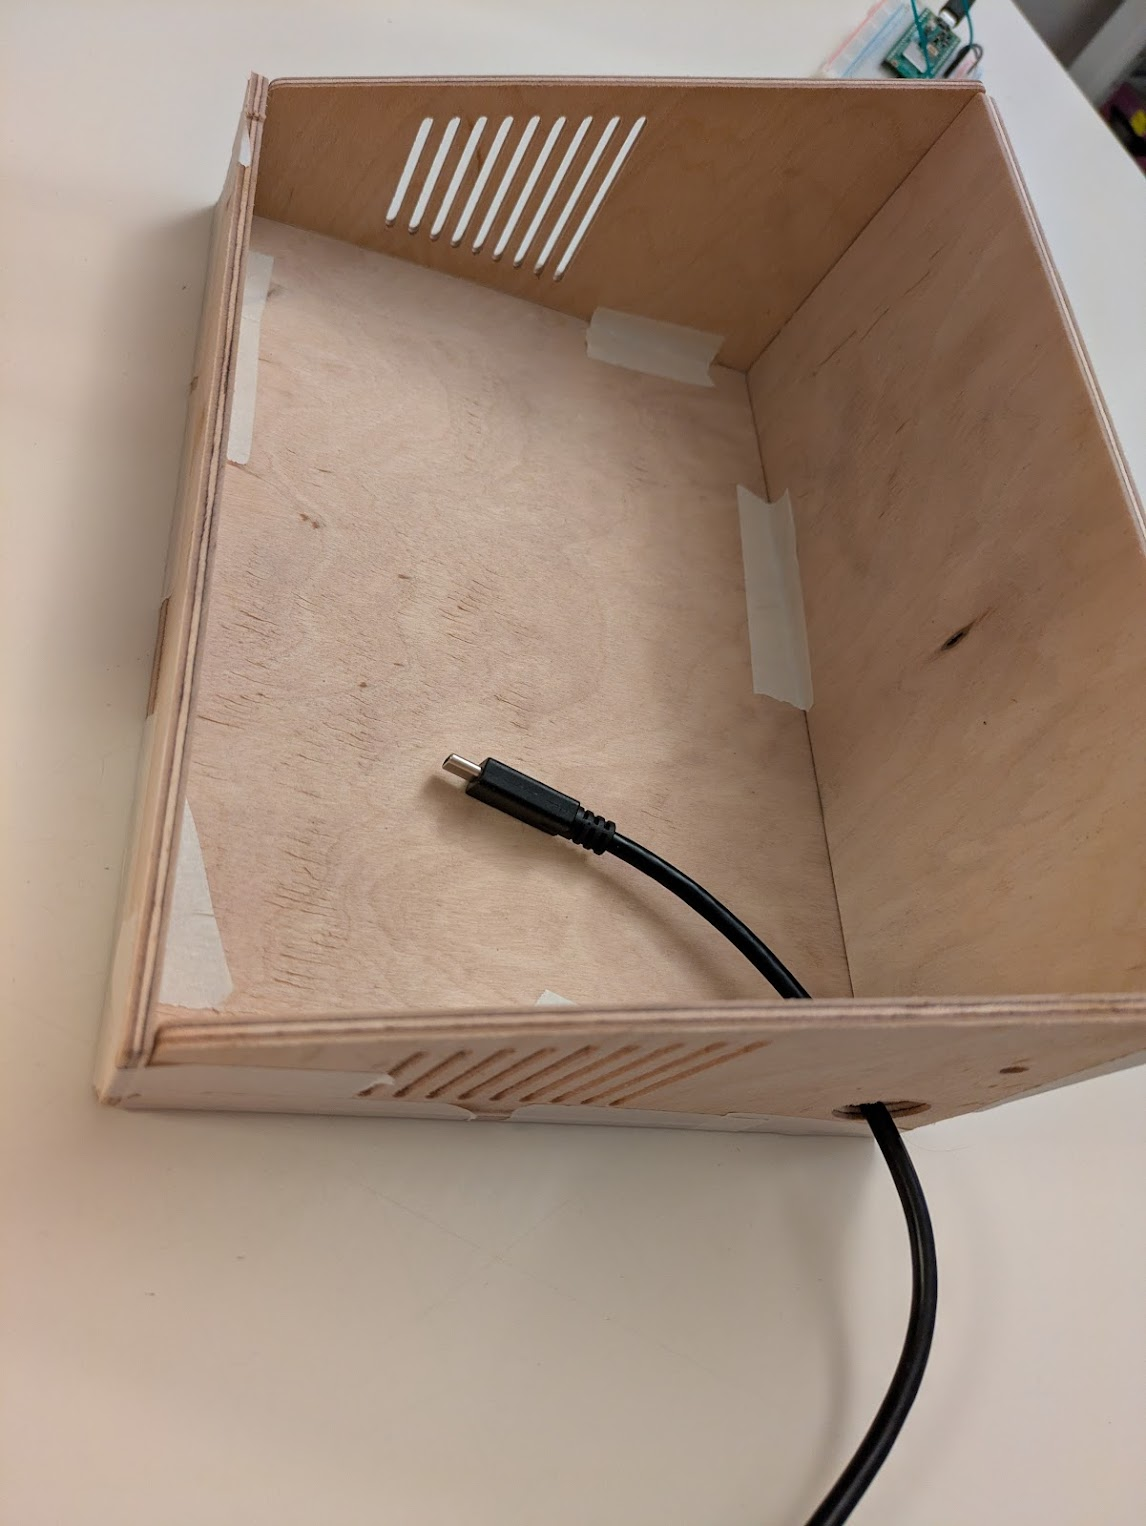
Test to see if things fit together with masking tape:

I sand everything with 240 grit and then 600 grit sandpaper. The holes for the switches and the knob, as well as the power supply are each a liiiittle bit too small, maybe a quarter mm. So I buy a little round file and file everything a bit bigger.
Since I didn’t do my original idea of making boxjoints, the easiest way to put everything together and still make it look neat is to use hot glue only on the inside. This actually works out quite well, the measurements are really accurate and luckily this first try of laser cutting worked out. I glue everything together, except the top plate, let it dry, and then sand down a little bit where the edges are not totally flush.
2025-09-15
Still a problem how to attach the lid to the body… So far we’ve used gaffer tape, but that’s obviously only a temporary solution. The tricky thing is that there are no right angles on this lid, so attaching hinges is very tricky. If we attach hinges on the inside of the top plate, it would have to move slightly downwards, exposing the back plate. And there would also be an ugly lip on the bottom of the top plate.

2025-09-19
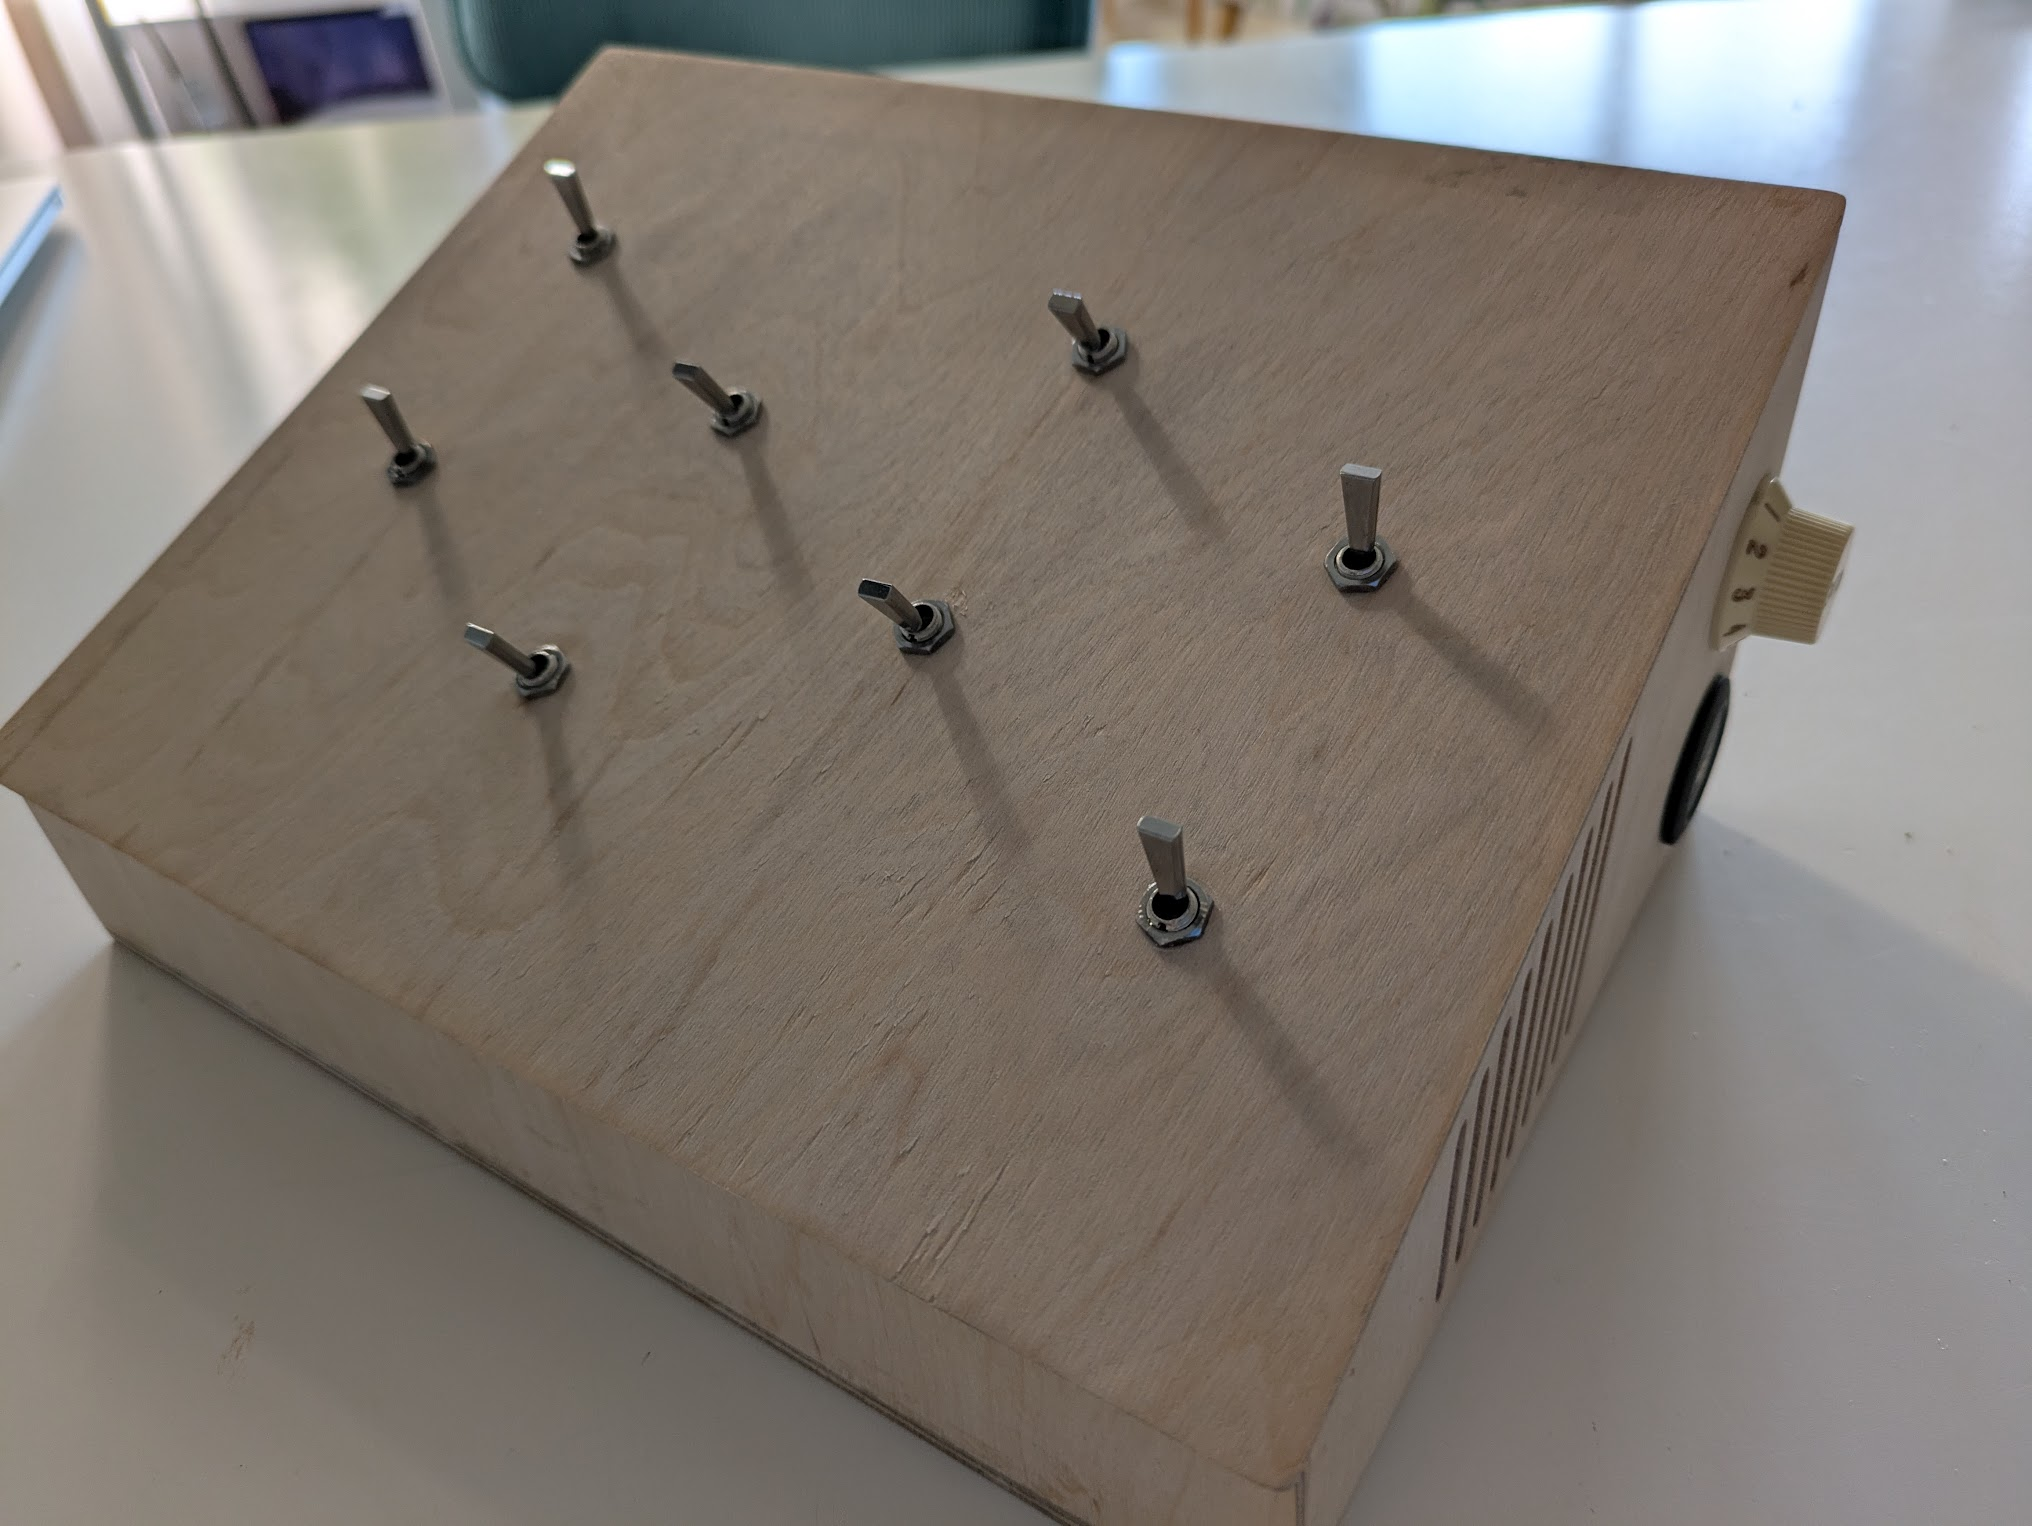
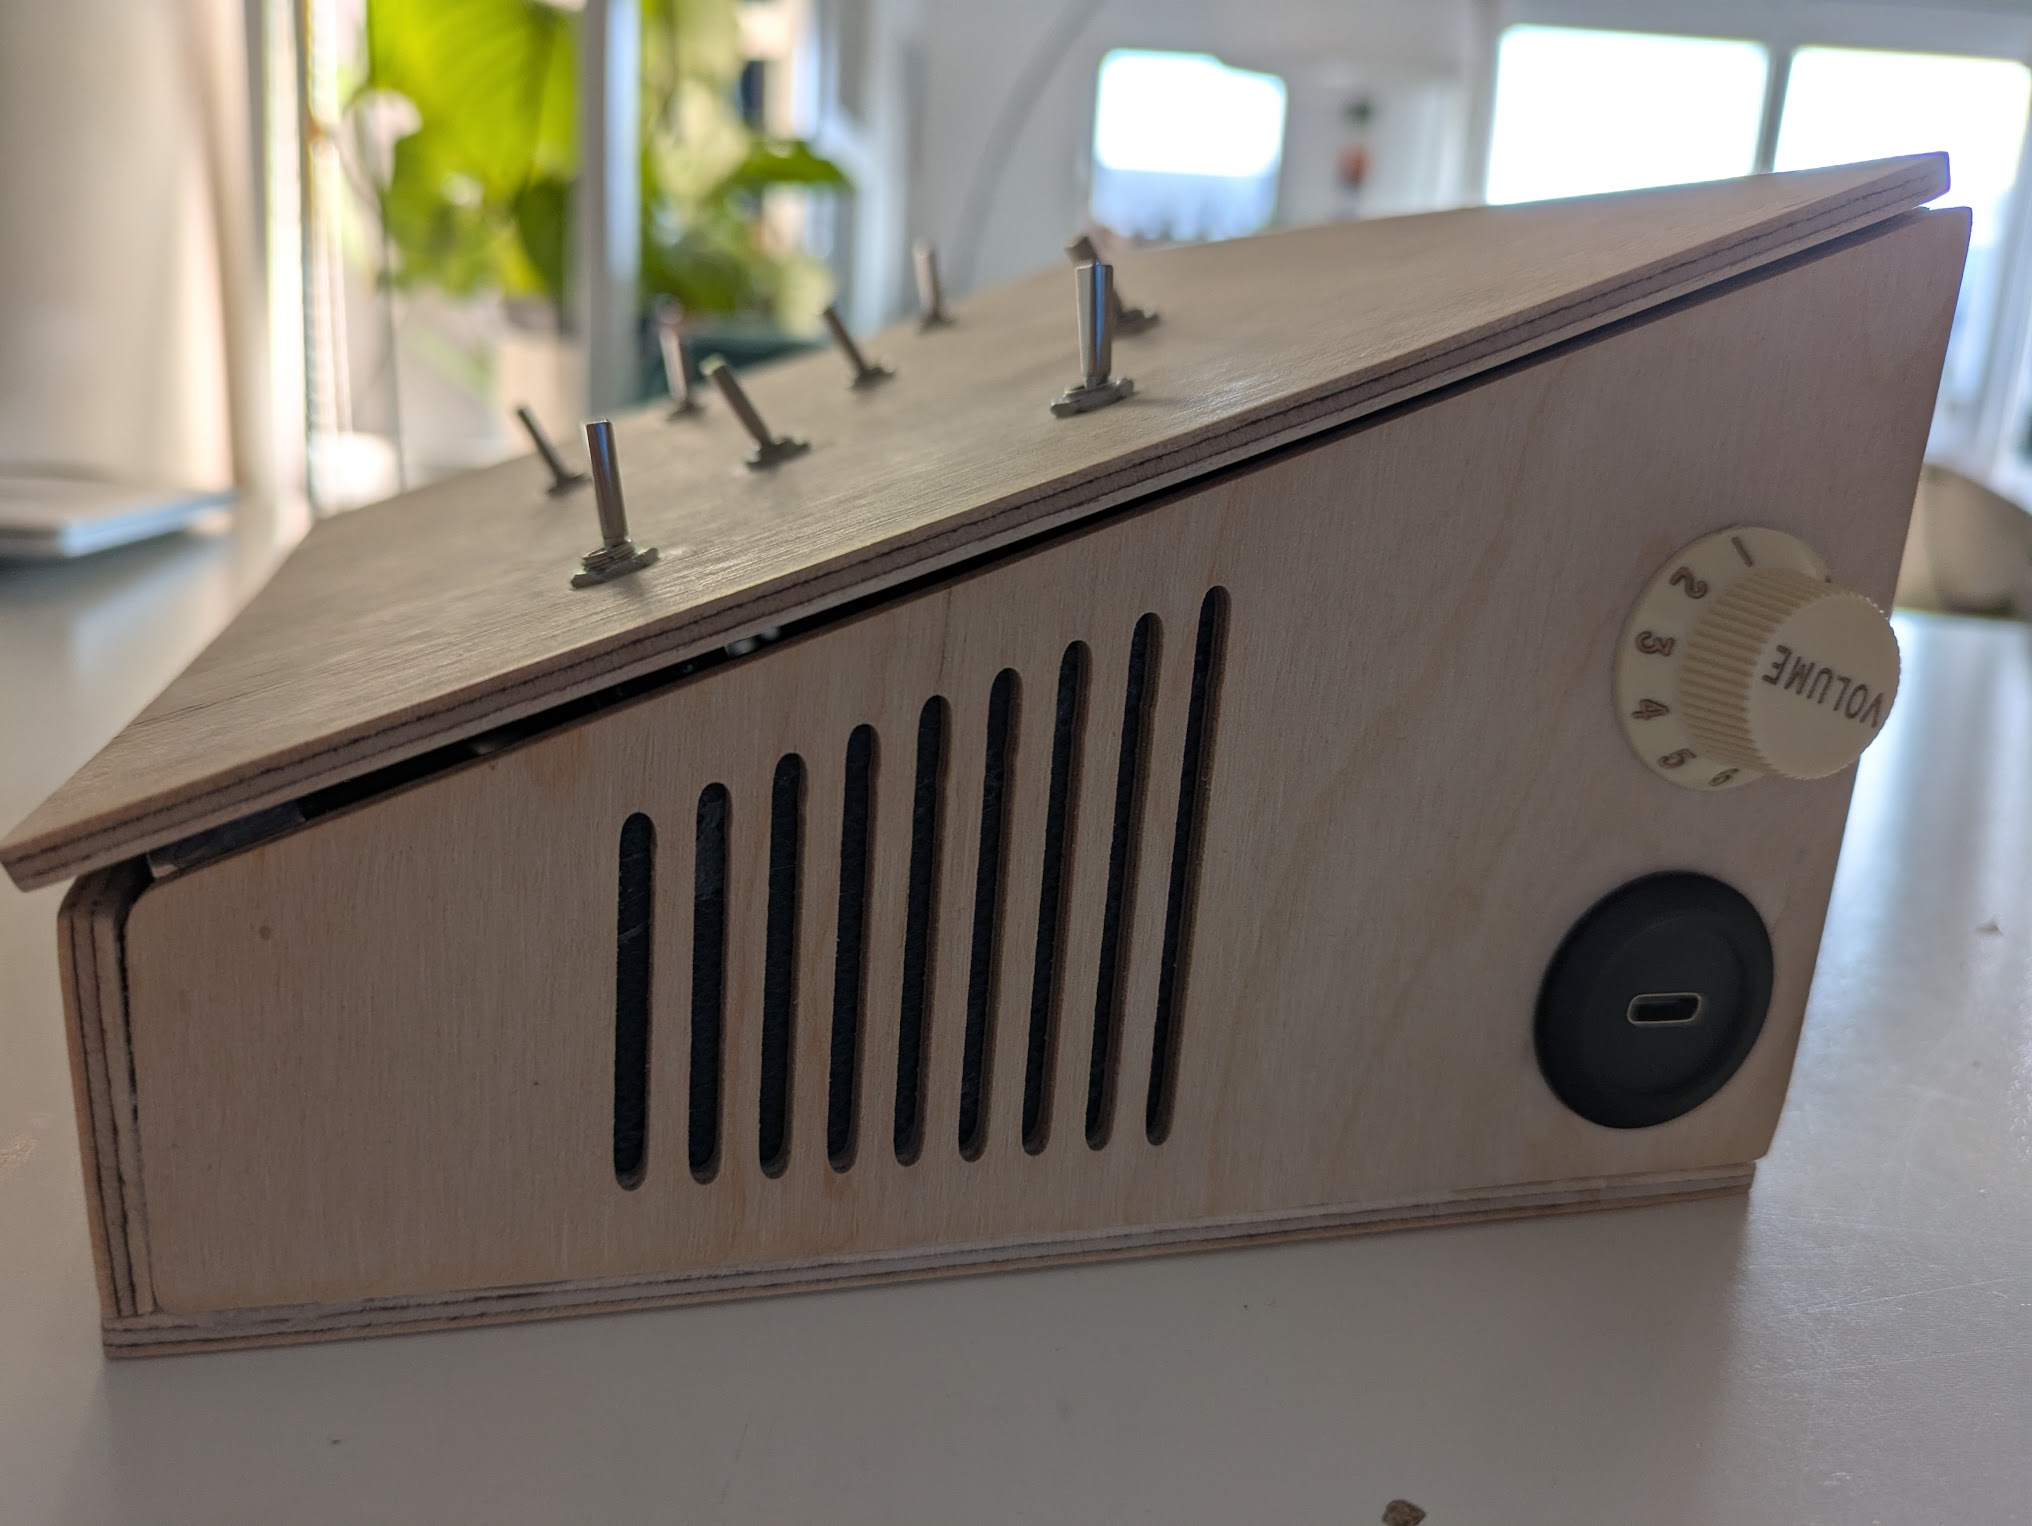
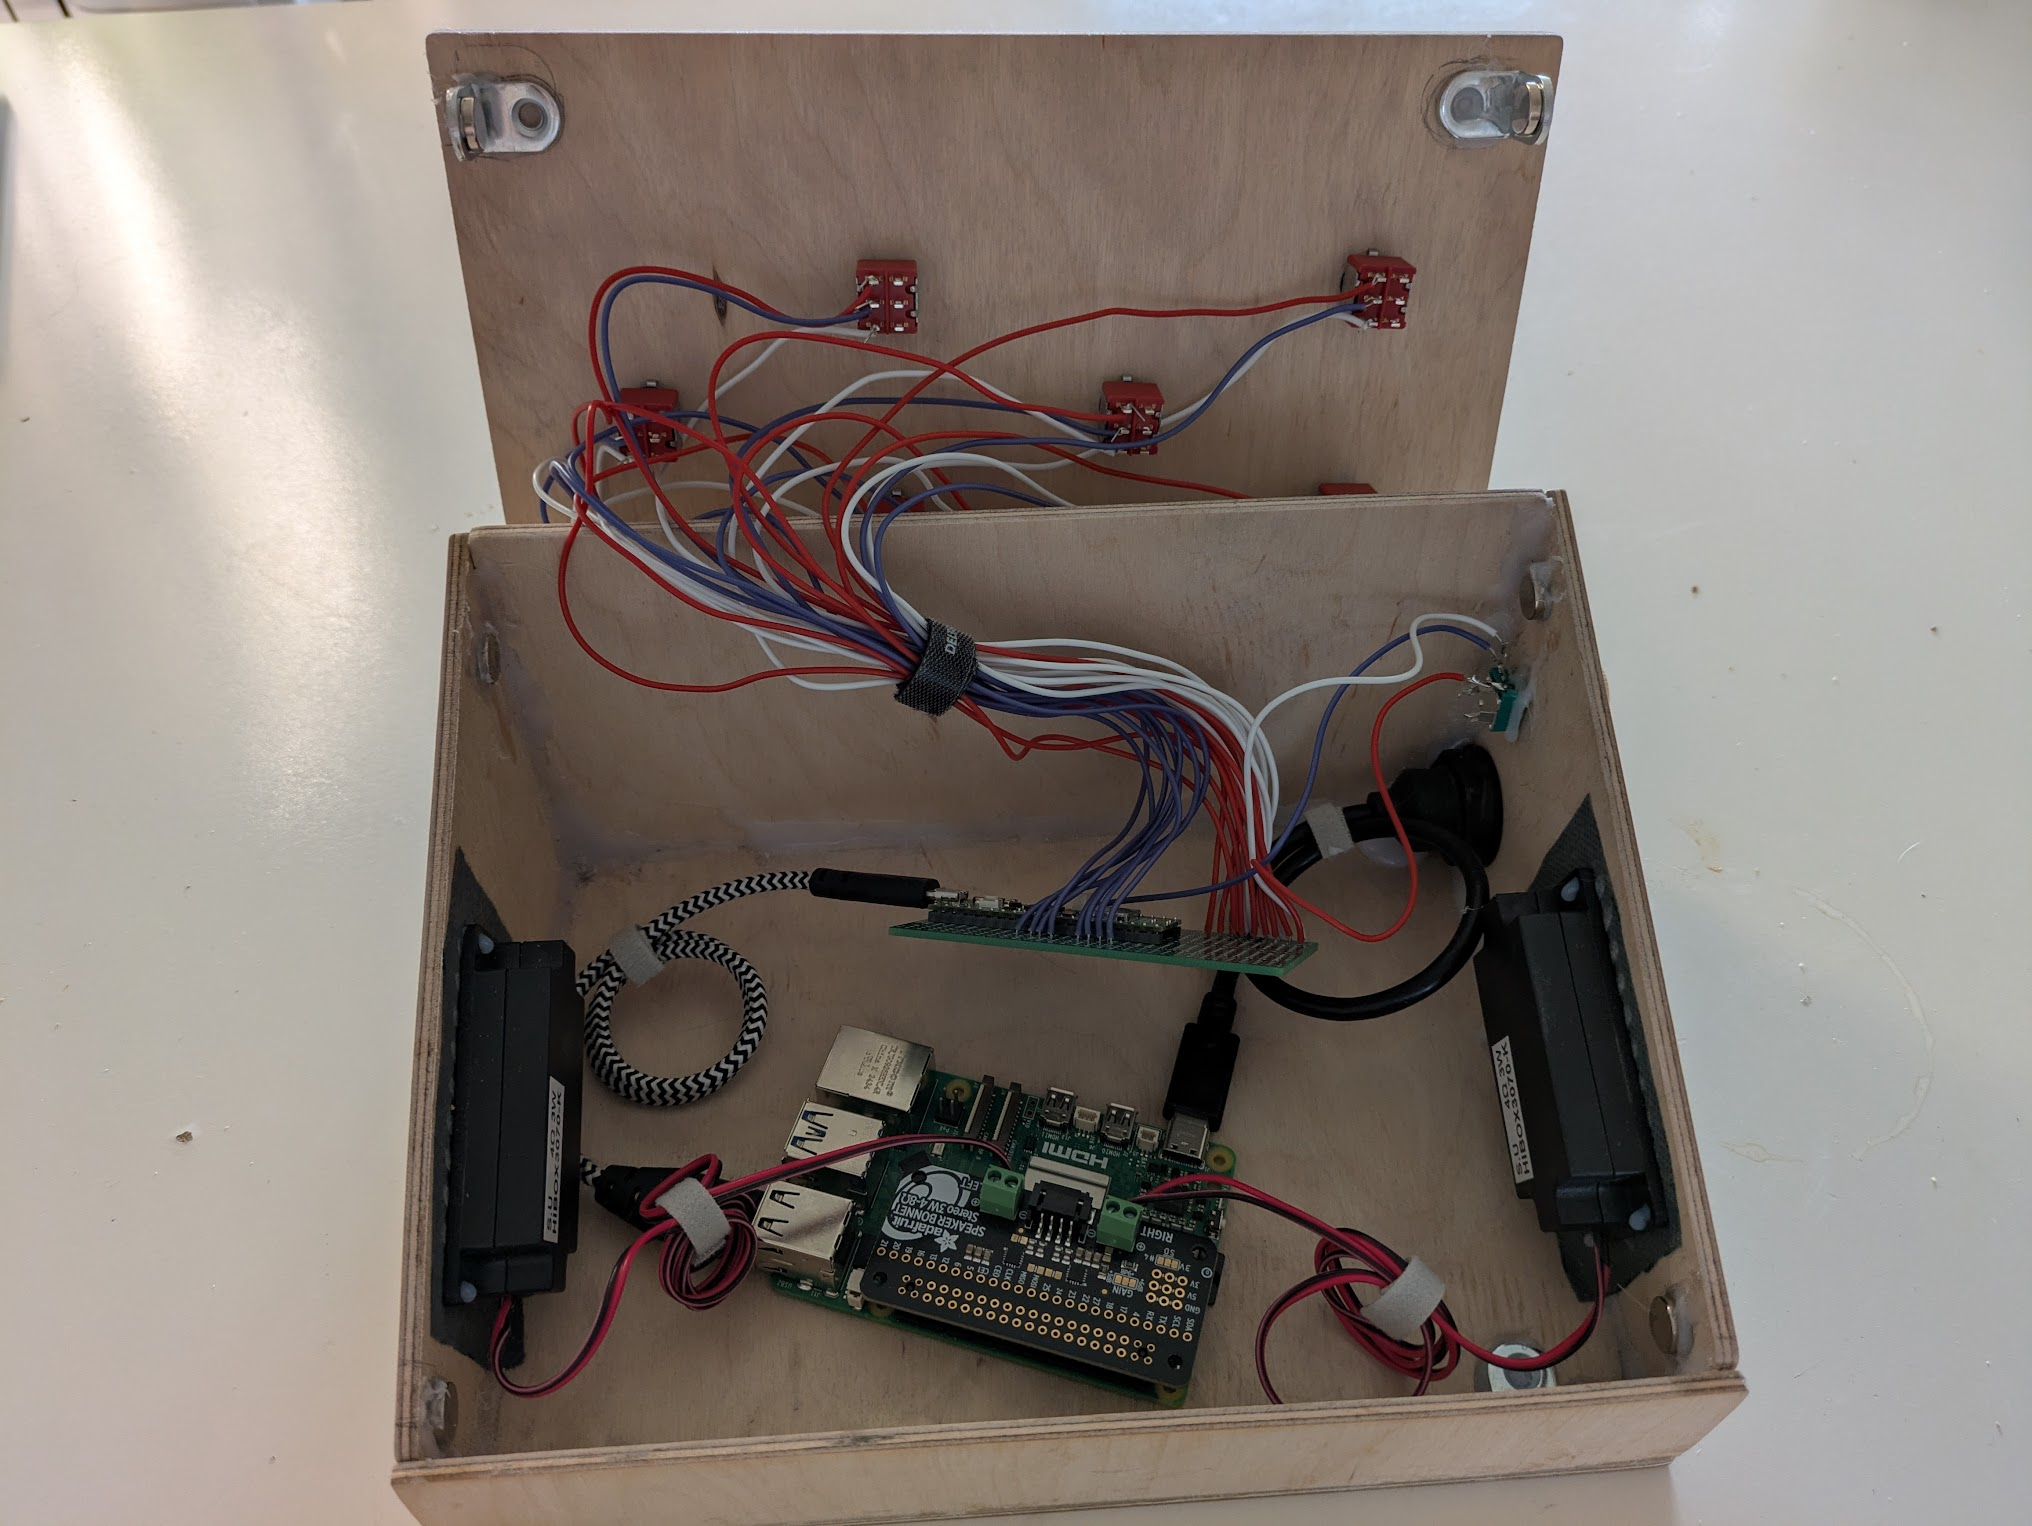
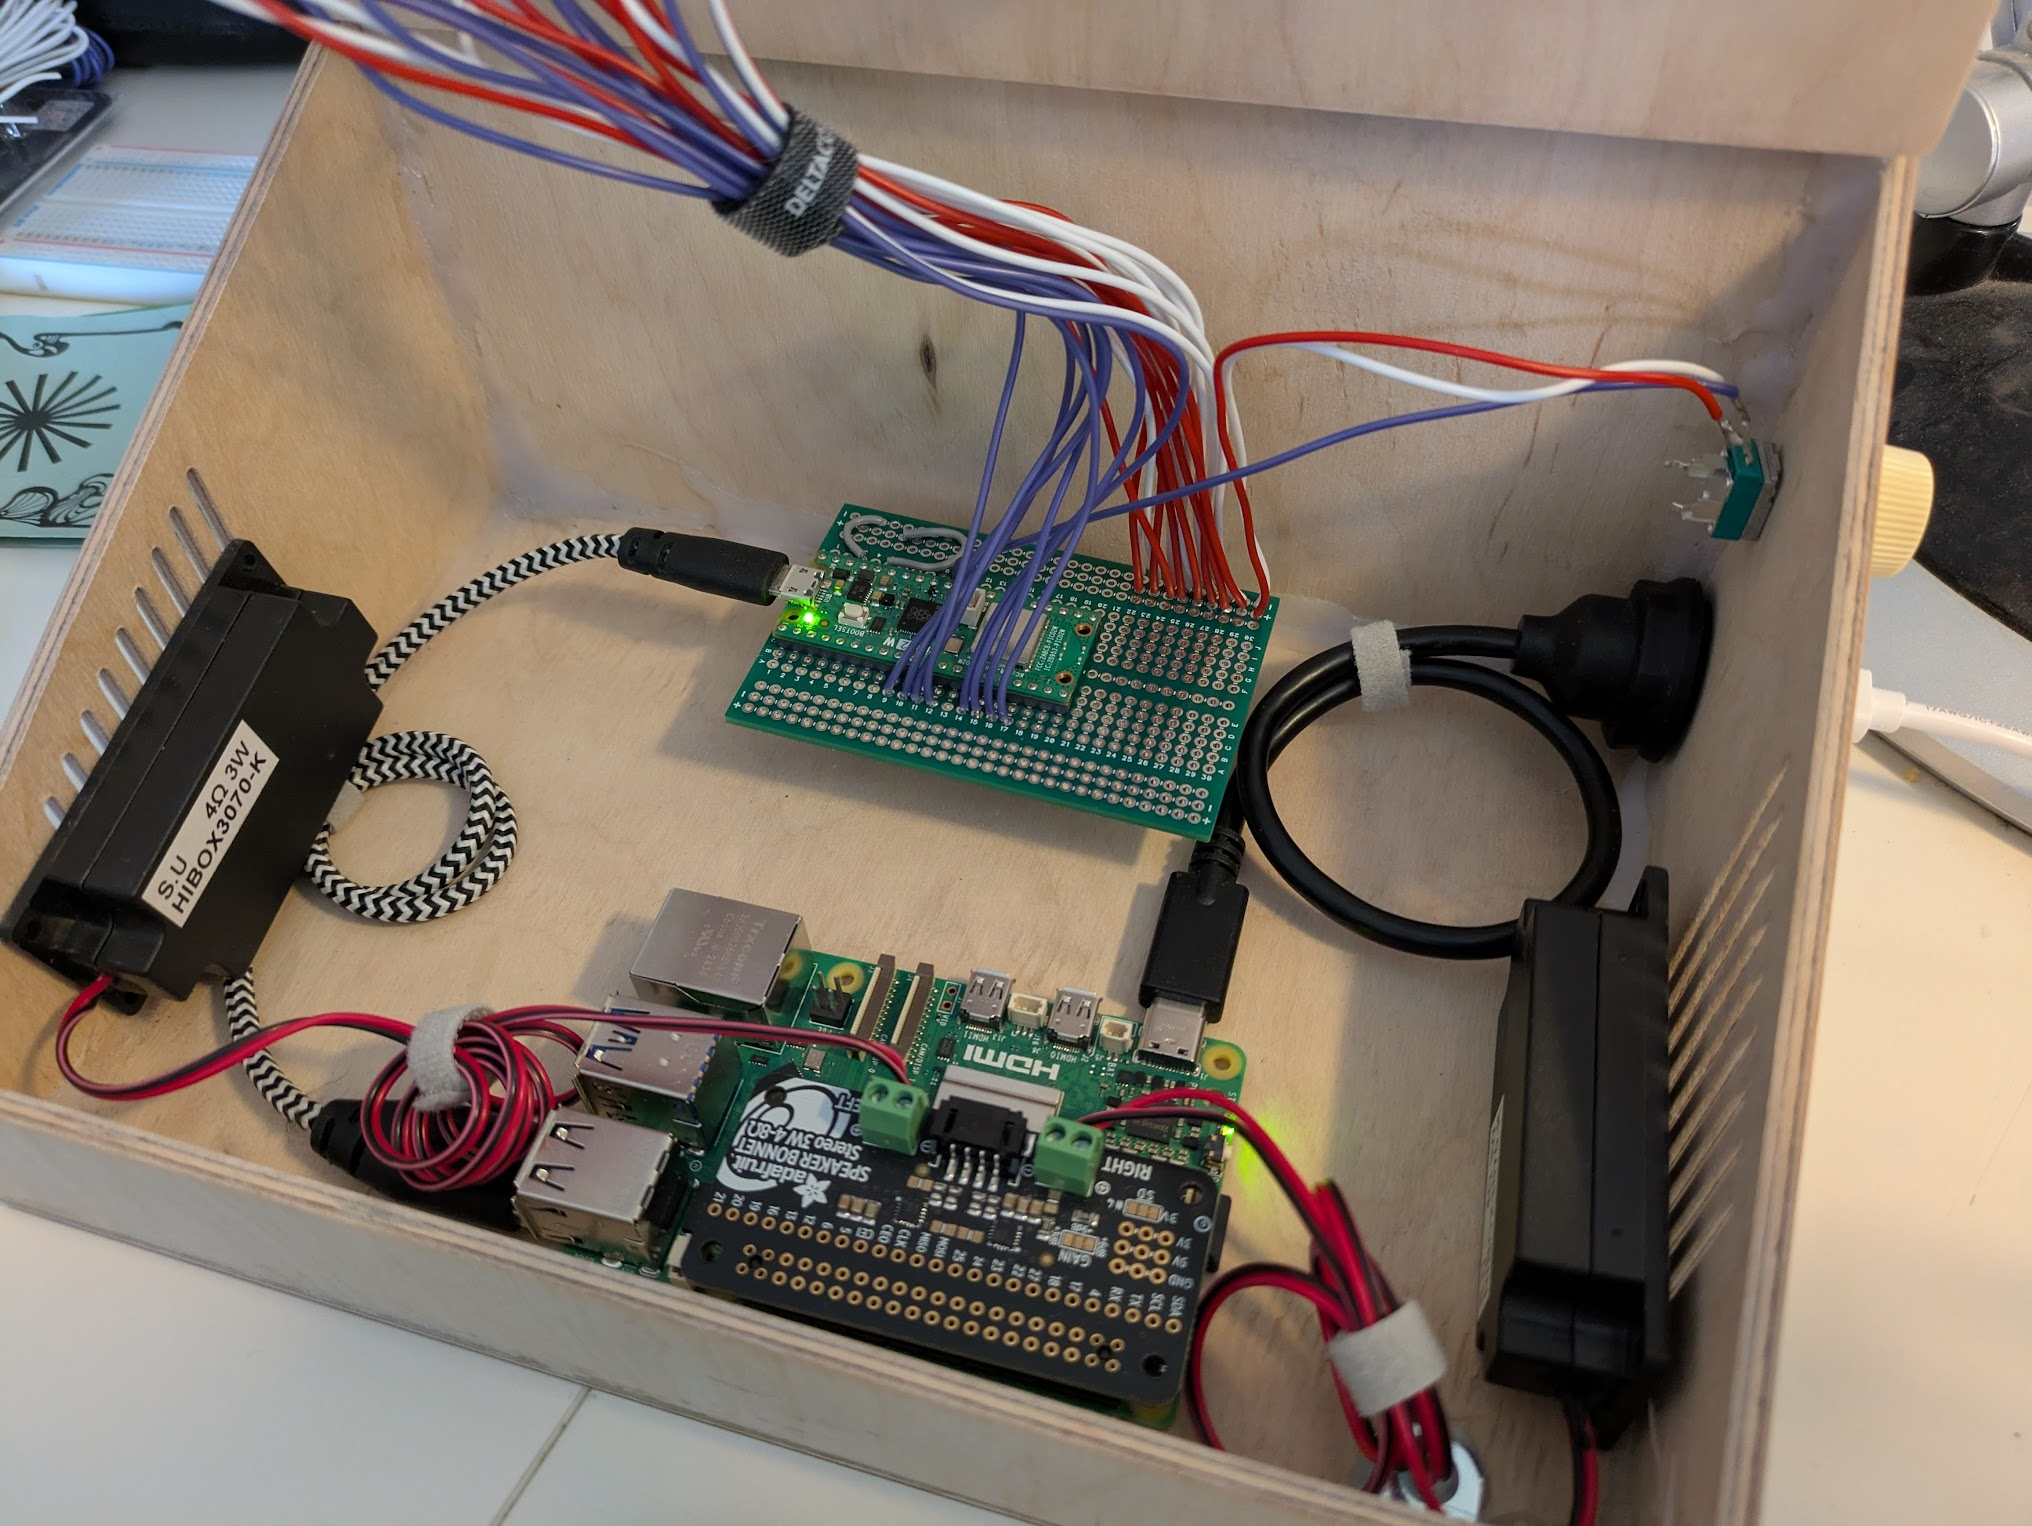
The box assembly is finished! I made the closing mechanism with magnets and little L-shaped metal bits that slot the whole top plate in place. Everything is glued with hot glue, which looks ugly from the inside, but from the outside everything is very clean. The closing mechanism works fairly well and leaves only a small gap on the sides. But from the top it looks great, only the top plate is visible.