https://www.atelier-scammit.com/women/89-attitude.html Atelier Scammit
Suggested fabrics
- Weight: light to medium-heavy (180 to 340 gsm or 4-8 oz.)
- Fabric: woven (denim, serge, velvet, flannel, wool…)
- Stretch factor*: 10-15 % with 1 to 2 % max elastane
Pictures
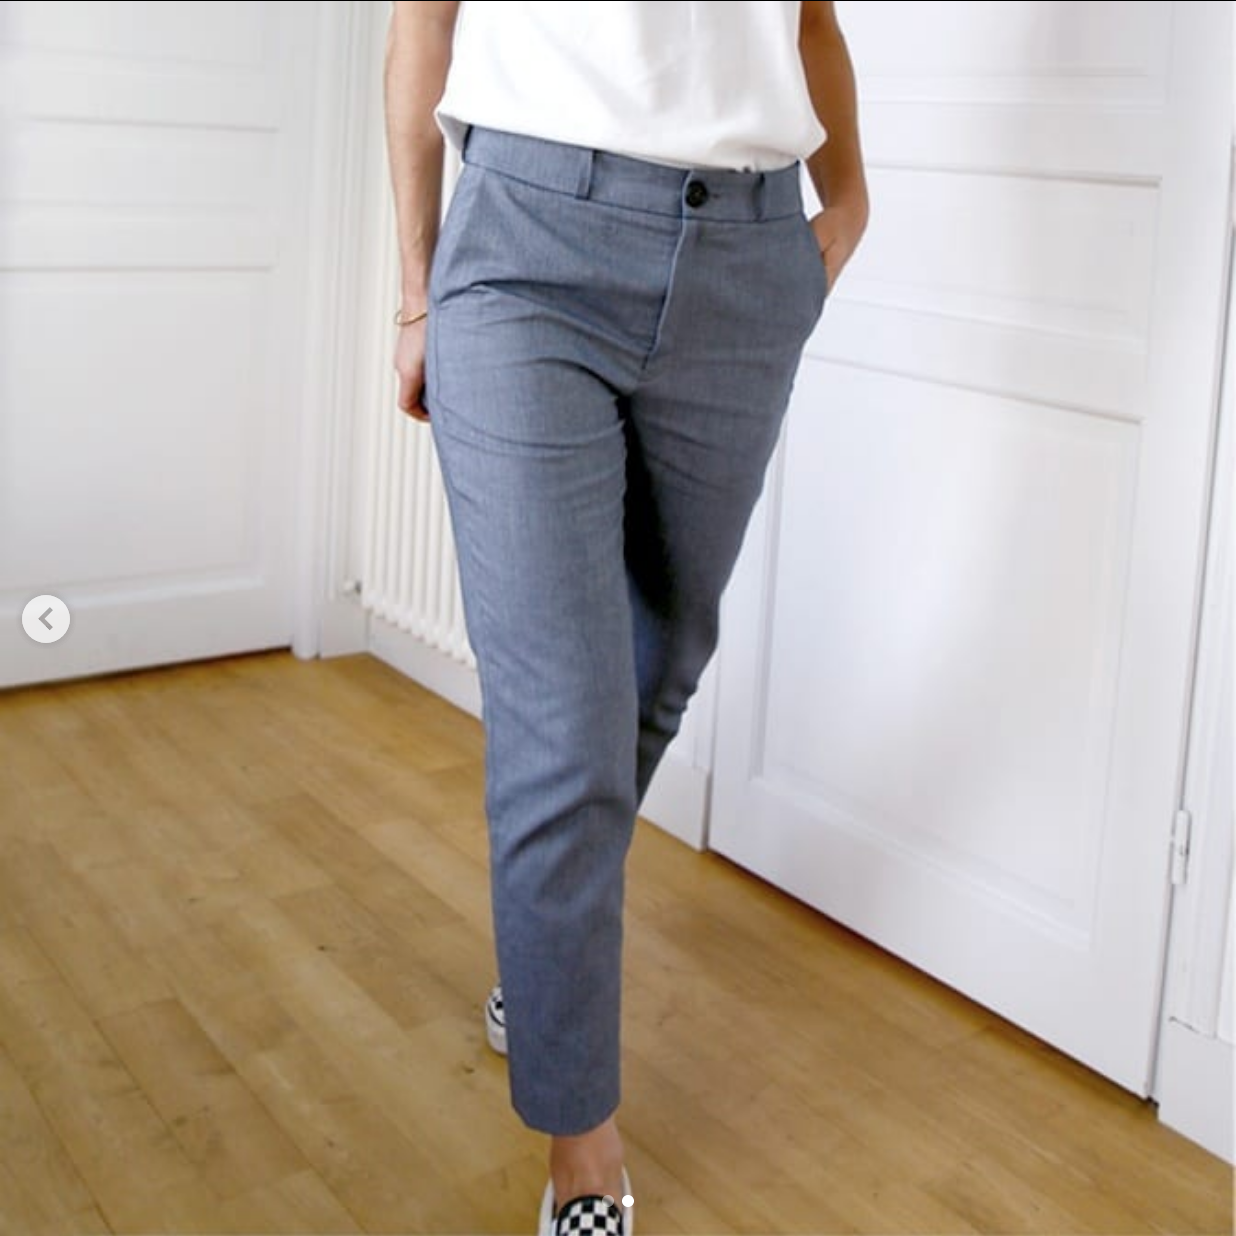 Credit: @atelierscammit (https://www.instagram.com/p/CWGfZHaMI2p/)
 Credit: Atelier Scammit (https://www.atelier-scammit.com/women/89-attitude.html)
Sewing progression
Youtube tutorial (in French): https://www.youtube.com/watch?v=DoCPTrjvvKw&t=498s
1 cm seam allowance, unless otherwise mentioned
Prepare the fabric pieces
- Iron interfacing on the ones where necessary:
- 2x piece 11 on main fabric
- 1x piece 6 on main fabric
- Transfer the markings for the fly on the front pieces to the fabric (on the wrong side), then baste stitch with a contrasting thread so it appears on the right side.
- Only on right-side front piece: Press 1 cm fold on the fly tab.
- Only left-side front piece: Trim away the 1 cm fly tab (that you just pressed to the back on the right-side front piece)
- On each of the front pieces, sew a form tape interfacing (1 cm width, non-stretch) along the waist line. Helps to prevent deformation and stretching of the waist.
- If Italian pockets are done: fuse a 3 cm wide piece of interfacing all along the future pocket opening on the front pieces (on wrong side of fabric).
- Overlock the insides of the legs of the front and back pieces. On the right-side front, only up to the fly where the tab starts, but no the fly tab (that was pressed to the inside). Also overlock the bottom parts of the legs on the front and back pieces, as well as the outside of the legs on the back pieces. Be careful not to stretch the fabric, especially when overlocking the inside of the crotch!
- Press a 4 cm hem on the bottom of the front and back piece legs.
- Transfer the markings for the back pockets onto the right and wrong sides of the fabric on the back pieces.
- Sew the darts on the back pieces and press them towards the crotch.
- Iron on interfacing where the back pocket openings will be.
- On each of the back pieces, sew a form tape interfacing (1 cm width, non-stretch) along the waist line. Helps to prevent deformation and stretching of the waist.
- Back pocket lining: transfer the placement of the pocket to the right side of the back pocket lining piece.
- Italian pockets: Front pocket linings 2x piece 10: fold wrong sides together in the middle (line up notches - the top and the bottom curve should match) and iron. Front pocket opening 2x piece 8: overlock the short part and the longest part only. Then place the front pocket opening wrong side to wrong side to the front pocket lining and stitch the two pieces with a long stitch (4) together, a few mm away from the edge. Pin the wrong side of the pocket lining to the right side of the front leg at the pocket opening. Stitch along the outer edge at 1 cm. Then press the seam allowance towards the pocket lining and understitch it in place (2 mm away from the other stitching line). Then iron the pocket towards the back of the front leg. Then sew the pocket shut with French seams. For that, fold the pocket lining right sides together along the lower edge. Sew with an overlocker along the bottom edge at 8mm (so that 3 mm will be cut off and sewn at 5 mm). Then fold the pocket inside out, press, and sew over the newly made stitch line at 6 mm, so that the overlocker stitching is encased. Then align the top edge of the trouser leg with the pocket and stitch along at 5 mm to hold it in place. Also, stitch a bit (at 5 mm) on the side of the trouser leg, below the pocket opening, to keep the pocket in place.
- Back pocket (welt pocket): Cut a 2cm wide x 8cm long strip on the main fabric, then fold and press like a bias tape. Stitch along the long edge as close to the edge as possible, then shorten the strip to 6.5 cm. Fold the strip in half to form a little loop. On the back trouser leg with the welt pocket, pin the loop pointing upwards in the middle of the outlined welt pocket. Stitch at 5 mm to keep in place.